


Getting Started
Student Portal || Getting Started || Practice Form || Policies || Leave a Review
Setting Up an Account
Registering for an account with Acuity, our scheduling software, allows you to see upcoming lessons and set up/change payment methods with ease. To register for an account:
Go to your “New Appointment” confirmation email and click the black button towards the bottom that says “Pay for Appointment” (screenshot 1).
OR reach out to Claire and ask her to text you the link to register. Either option takes you to the same spot.A new window will open with a payment box - close out of that box to go to your main confirmation page (Note: it is important to register for an account before you pay for a lesson so that you can save a card on file).
Towards the bottom of this page is a button labeled “Register for an Account” - click this button and follow the prompts to create your account. (screenshot 2)
You are now registered and can see upcoming lessons, add and change payment methods, etc. To log in, navigate to your main confirmation page and click the “Returning? Log in” button in the top right corner. (screenshot 3)

Screenshot 1: Pay for Appointment button in new appointment email

Screenshot 2: Register for an Account button on confirmation page

Screenshot 3: Account log in button
Adding a Card
We require all clients to keep an active card on file to help with the ease and consistency of lesson payments. To add or change the card you have on file, you can follow the instructions below:
*If you would prefer our assistance with this, reach out to Claire and she can schedule a time to get your card information over the phone.
Be sure you register for an account before you try to save a card on file. You will only be able to save a card on file yourself if you register for an account. If you prefer not to make an account, you will need to get in touch with Claire to give your card information over the phone.
Click on the payment link in your most recent lesson confirmation email (Screenshot 1) or the one Claire sends you if requested.
Be sure you are logged in to your account. If you aren’t, close the payment window that pops up, log in (Screenshot 2), and then click the “Pay $…” button (Screenshot 3).
Enter your new card information in the window that pops up.
At the bottom of this window, be sure to check the box that says “Save this card for easier use in the future” (Screenshot 4)(this will only show up if you are logged in)
Submit payment and you have successfully saved your card on file.

Screenshot 1: Pay for Appointment button in lesson confirmation email
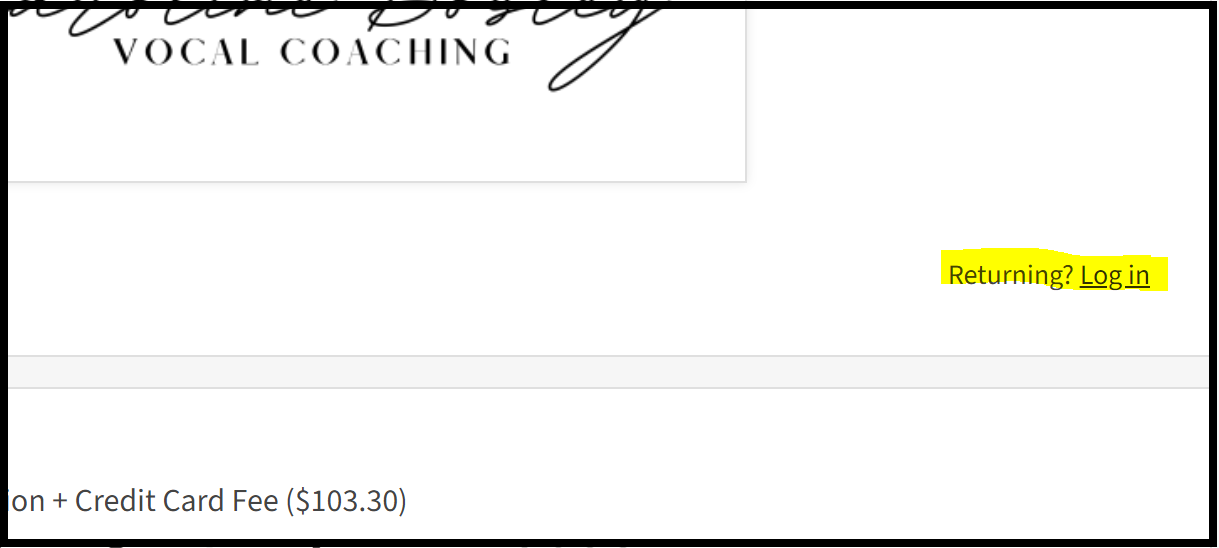
Screenshot 2: Log in button on lesson confirmation page
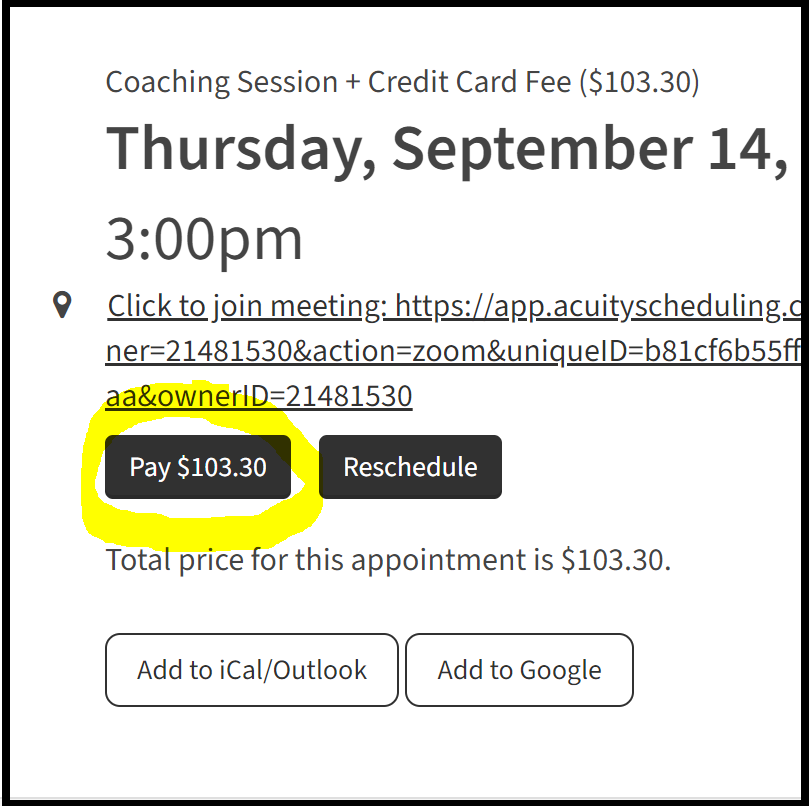
Screenshot 3: Payment button on lesson confirmation page
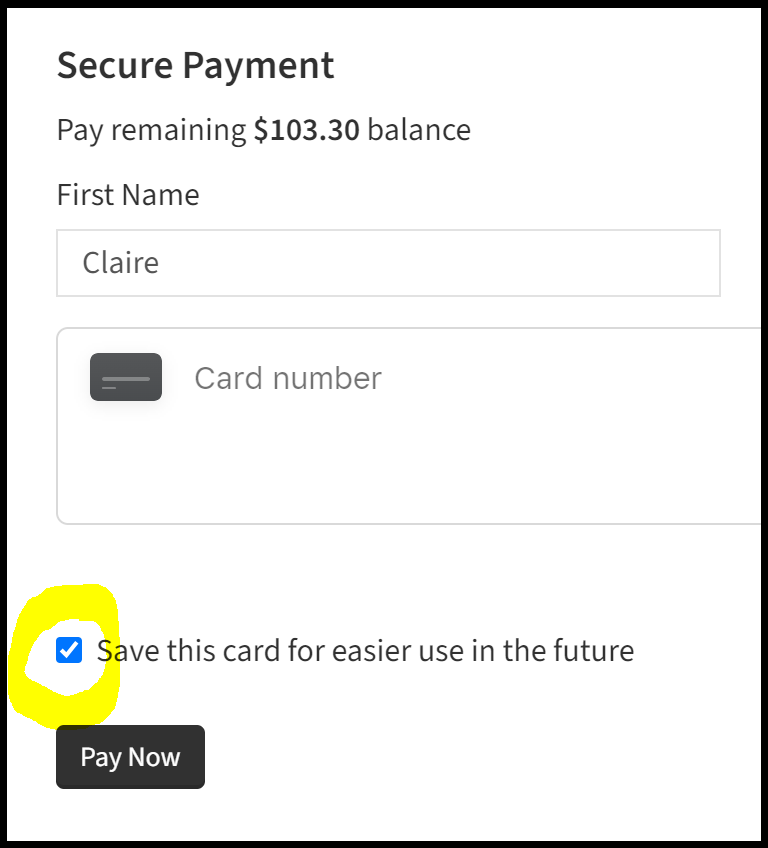
Screenshot 4: Check box to save card on file